If you are using Tableau for reporting, you may want to connect to one or more lists in SharePoint. Here are the steps I take to do this.
Step 1: Open a browser and navigate to the SharePoint list you would like to work with in Tableau. Make a point to identify the list name.
Step 2: Now backspace over the url to just the site url and the trailing forward slash.
For example, if the list is at http://sharepoint/site/Lists/listname/allitems.aspx then backspace to http://sharepoint/site/
Step 3: Now add the following to the url: _vti_bin/ListData.svc
The url should now read: http://sharepoint/site/_vti_bin/ListData.svc
Step 4: Press Enter. Select and copy this url to the clipboard.
Step 5: In the resulting XML file, find the list name of your list. It may be slightly different than the list name on the actual list but it will be close. For example, a list called Monitoring Activity may render in the XML file as MonitoringActivity.
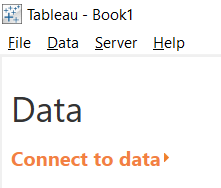
Step 6: Open Tableau Desktop and select Connect to Data
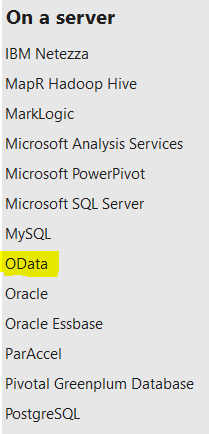
Step 7: On the Connect to Data page, select OData
Now we’re going to put it all together.
Step 8: In the OData Connection dialog box, paste in the url from the clipboard, then add a forward slash, then copy and paste in the List name from the XML file.
Quick explanation: We’re using the SharePoint REST service here and it is case-sensitive. Hence, be very exact with the list name.
For example: http://sharepoint/site/_vti_bin/ListData.svc/MonitoringActivity
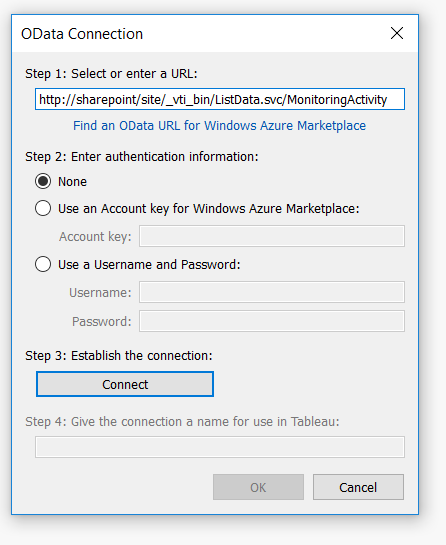
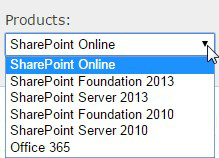
Step 9: Keep the default Authentication set to None and click the Connect button. It will assign you a connection name. Feel free to change it.
Step 10: Click the OK button
Success!