There is a very common business requirement where you need to send an email alert to customers after a particular number of days but only on business days. Business days means only Monday through Friday in most countries. It’s a bit tricky but can be accomplished with ease by following the example given below.
Requirements:
The user gets an alert after 21 days stating that his action is needed on something, say for example a credit card bill payment before it becomes over due.
Logic:
This is simple: Add 21 days from the date in which he made a payment and check whether today is the 21st day.
If “Yes” fire an alert, else do nothing.
DateTime dueDate = actualPaymentMadeDate.AddDays(21);

DateTime todayDateTime = DateTime.Now;

                        if (dueDate == todayDateTime )
                        {
                            Console.WriteLine("It is past 21 days");
                        }
                        else
                        {
                          Console.WriteLine("It is still not 21 days");
                        }
Now the second part is that you need to temporarily disable his card if he does not make a payment after 21 days. However, this alert should be sent only on the 3rd business day after 21 days.
Logic:
If the difference is greater than 21 days, then add 21 days to the date in which the payment was made, then find out which day does this date fall under, i.e the day of the date when 21 days are added to the date in which the credit card payment was made. Then write a case statement which would add “n” number of days based on which day the 21st date is like the one shown below. Now for example if the day is Monday then 3 days are added to get the next 3rd business day and if today is that day, then an alert is sent by the timer job.
else if (differenceInDays > 22)
                        {
                            //add 21 days to the date in which the card was issues.
                            DateTime addedPaymentDate = actualPaymentDate.AddDays(21);
                            DateTime finalBusinessday;

                            //find out the day of this date.
                            string currentDay = addedPaymentDate.DayOfWeek.ToString();

                            //write a case if the day belongs to one of the cases, then what happens,
                            //like monday = add 3 days, tuesday add 3 days, wednesday 5 days,
                            string caseSwitch = currentDay;
                            switch (caseSwitch)
                            {
                                case "Monday":
                                    finalBusinessday = addedPaymentDate.AddDays(3);
                                    Console.WriteLine("Monday");
                                    break;
                                case "Tuesday":
                                    finalBusinessday = addedPaymentDate.AddDays(3);
                                    Console.WriteLine("Tuesday");
                                    break;
                                case "Wednesday":
                                    finalBusinessday = addedPaymentDate.AddDays(5);
                                    Console.WriteLine("Wednesday");
                                    break;
                                case "Thursday":
                                    finalBusinessday = addedPaymentDate.AddDays(5);
                                    Console.WriteLine("Thursday");
                                    break;
                                case "Friday":
                                    finalBusinessday = addedPaymentDate.AddDays(5);
                                    Console.WriteLine("Friday");
                                    break;
                                case "Saturday":
                                    finalBusinessday = addedPaymentDate.AddDays(4);
                                    Console.WriteLine("Saturday");
                                    break;
                                default:
                                    finalBusinessday = addedCardIssueDate.AddDays(3);
                                    Console.WriteLine("Sunday");
                                    break;
                            }

                            //get to find out the date after adding the days.
                            //if today is == to the obtained date in the previous step send email

                            var dateoffinalBusinessday = finalBusinessday.ToShortDateString();
                            string dateOftoday = todayDateTime.ToShortDateString();

                            if (dateoffinalBusinessday == dateOftoday)
                            {
                                DynamicAlerter(1, tcardHolderEmail, tcardNumber,
                                    DateTime.Now.ToString(), siteObj);
                            }
                        }
please see screenshots below:
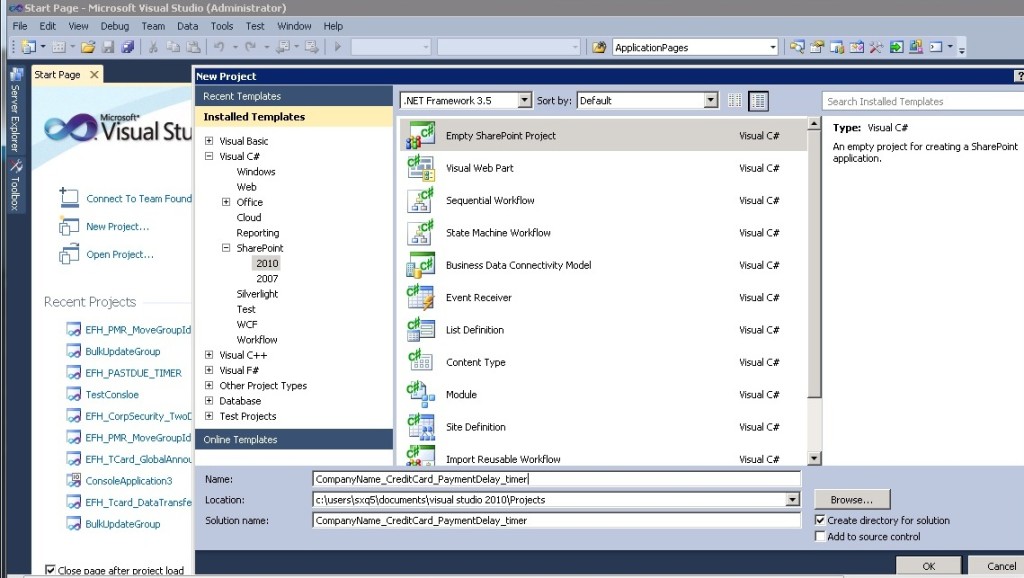
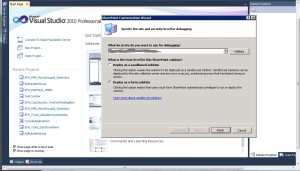
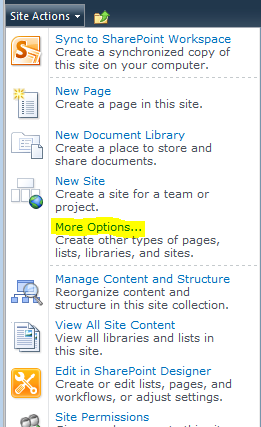
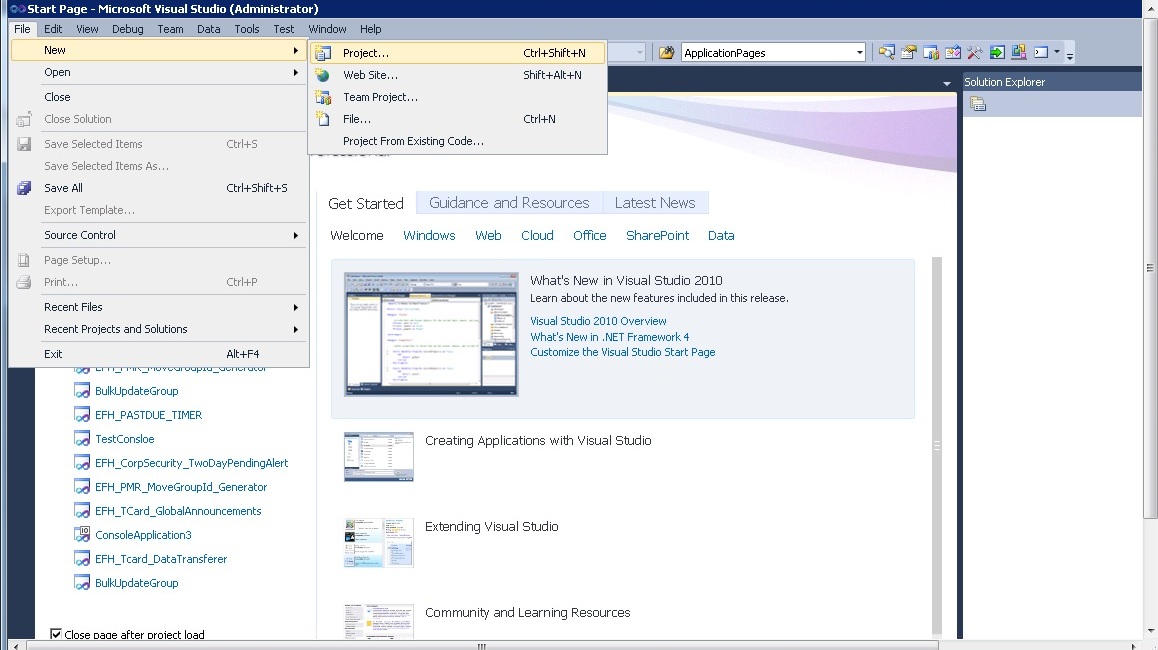
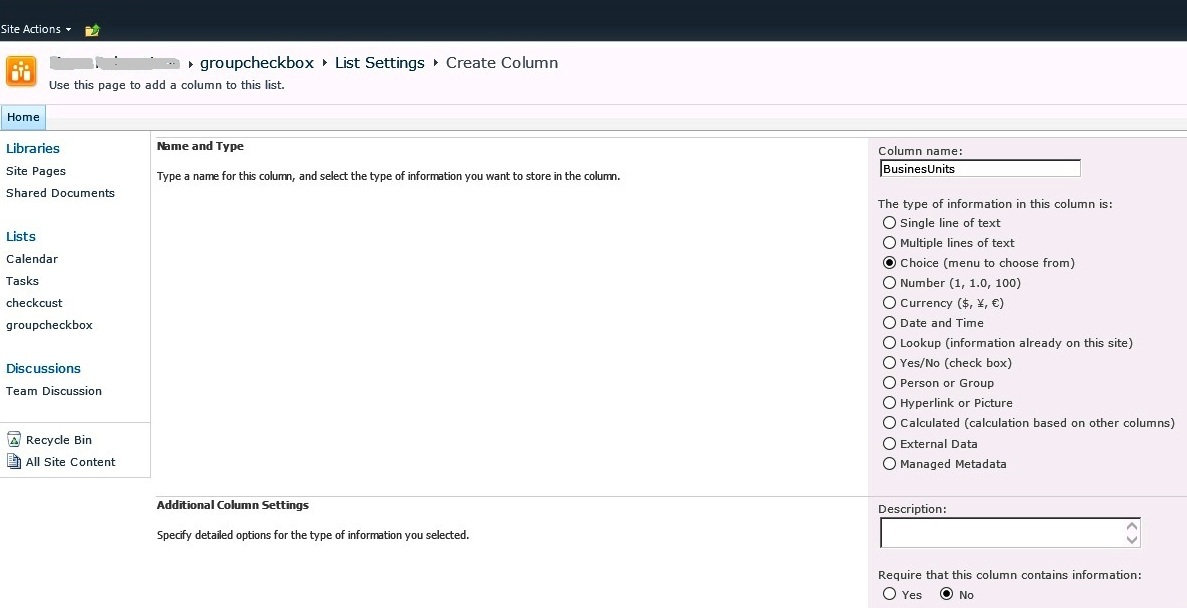
Open Visual Studio 2010 and select New, Project… from the file menu

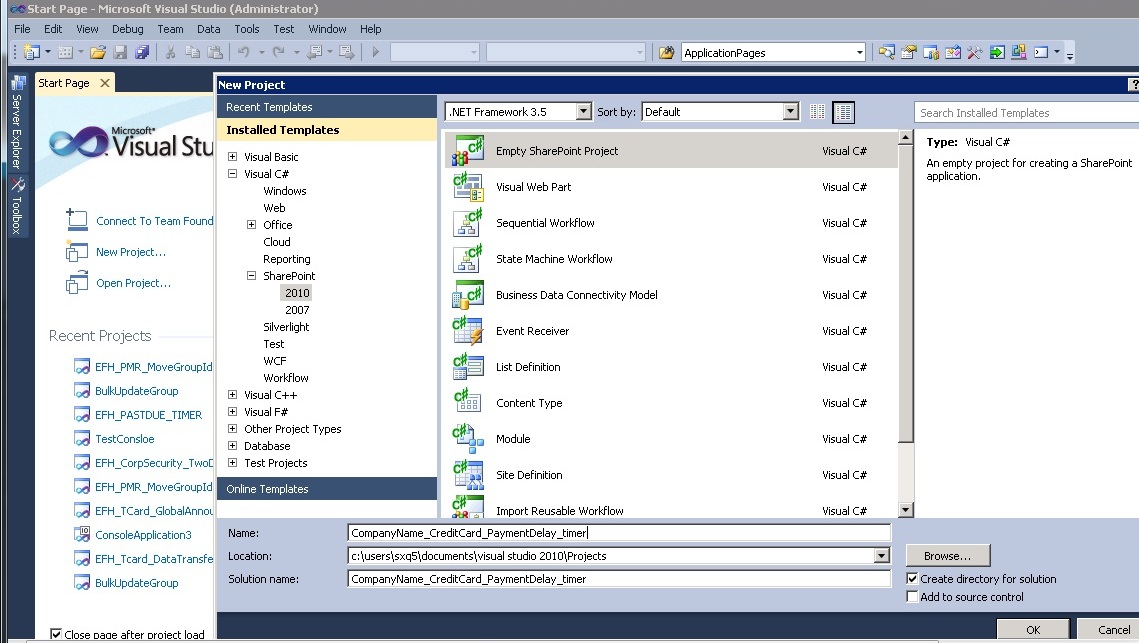
New timer Job
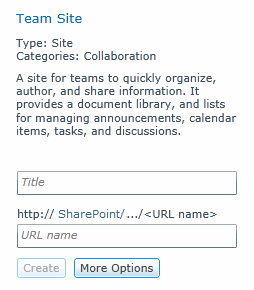
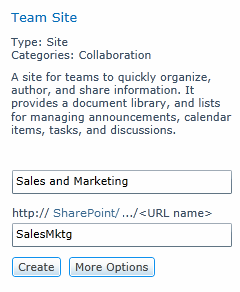
Select an empty SharePoint project and name it accordingly.
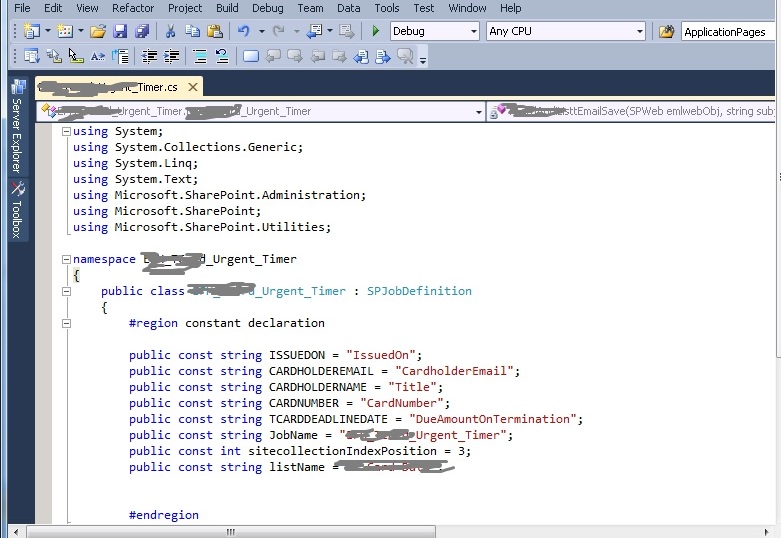
Once the project is created, then add a .cs file to it. Ensure that your cs file is named accordingly like
CompanyName_ModuleName_Urgent_Timer and inherits from SPJobDefinition class.
Method explanations:
The Execute(Guid targetInstanceId) method calls the main method which is UrgentAction_SuspensionAlert(currentTCardList, site) with the list and the site as input parameters.
The UrgentAction_SuspensionAlert(SPList eventsListObj, SPSite siteObj) method takes the list, and site objects as input parameters and does the actual logic of finding
1: If the payment has crossed 21 days then is the 21st day today: then email is fired
2: If the payment has crossed 21 days then find the 3rd business day after the 21st day and if that day is today: fire an email alert to the user
The DynamicAlerter(int stage, string cardHolderEmail,
string accountNumber, string deadlineDate, SPSite site) gets the following as input parameters
stage : is it trying to go for an email alert in the first case > 21 days due payment
or the second case : 3rd business day
Account number : Credit card account number
dead line date : the date in which the payment should have been made
site: spsite object
The string[] BodyTemplateEmail(SPList list,
string retrievalquery) takes in list and CAML query input values and returns a string array that will contain the dynamic email body from a configurable list
The CardAudiListtEmailSave(SPWeb emlwebObj, subject, string bodyContent,
string recipient) take input parameters like subject, the replaced dynamic body content and the credit card holder email ID and saves all this data for audit purposes into a SharePoint list for future reference.
Below is the full code section.
namespace CompanyName_ModuleName_Urgent_Timer
{
    public class CompanyName_ModuleName_Urgent_Timer : SPJobDefinition
    {

        #region constant declaration
        public const string ISSUEDON = "IssuedOn";
        public const string CARDHOLDEREMAIL = "CardholderEmail";
        public const string CARDHOLDERNAME = "Title";
        public const string CARDNUMBER = "CardNumber";
        public const string CARDDEADLINEDATE = "DueAmountOnTermination";
        public const string JobName = "CompanyName_ModuleName_Urgent_Timer";
        public const int sitecollectionIndexPosition = 3;
        public const string listName = "Credit Card Data";

        #endregion

        public CompanyName_ModuleName_Urgent_Timer()
            : base()
        {

        }
        public CompanyName_ModuleName_Urgent_Timer(SPWebApplication webApp) :
            base(JobName, webApp, null, SPJobLockType.Job)
        {
            Title = JobName;
        }
/// <summary>
        /// The main execute method that calls the method urgent actions timer
        /// </summary>
        /// <param name="targetInstanceId"></param>
 public override void Execute(Guid targetInstanceId)
        {

            try
            {
                // Execute the timer job logic.
                SPWebApplication webApp = this.Parent as SPWebApplication;
                SPSite site = webApp.Sites[sitecollectionIndexPosition];

                using (SPWeb web = site.OpenWeb())
                {
                    SPList currentList = web.Lists[listName];
                    UrgentAction_SuspensionAlert(currentList, site);
                }

            }
            catch (Exception ex)
            {
                SPDiagnosticsService.Local.WriteTrace(0, new SPDiagnosticsCategory
                    ("Urgent Actions Timer job Failure",
                    TraceSeverity.Unexpected, EventSeverity.Error), TraceSeverity.Unexpected,
                    "Failed in sending email alerts for more than 21 day pending jobs: "
                    + ex.Message, ex.StackTrace);
            }
        }
 /// <summary>
        /// This method  finds the difference between the date issues and current date
        /// then sends the appropriate email alert. If it is greater than 21 days urgent action email is sent
        /// if it is greater than 22 days, the suspension email is sent
        /// </summary>
        /// <param name="eventsListObj"></param>
        /// <param name="siteObj"></param>
private static void UrgentAction_SuspensionAlert(SPList eventsListObj, SPSite siteObj)
        {
            try
            {
                foreach (SPListItem eventListItem in eventsListObj.Items)
                {
                    DateTime todayDateTime = DateTime.Now;
                    if (eventListItem[ISSUEDON] != null)
                    {
                        string cardissuanceDate = eventListItem[ISSUEDON].ToString();
                        string cardNumber = eventListItem[CARDNUMBER].ToString();
                        string cardDeadlineDate = eventListItem[TCARDDEADLINEDATE].ToString();
                        string cardHolderEmail = eventListItem[CARDHOLDEREMAIL].ToString();

                        DateTime actualCardIssueDate = Convert.ToDateTime(cardissuanceDate);

                        string itemUrl = eventListItem.ParentList.ParentWeb.Site.MakeFullUrl
                        (eventListItem.ParentList.DefaultDisplayFormUrl + "?ID=" + eventListItem.ID);

                        TimeSpan timeDifference;
                        if (todayDateTime > actualCardIssueDate)
                        {
                            timeDifference = todayDateTime - actualCardIssueDate;
                        }
                        else
                        {
                            timeDifference = actualCardIssueDate - todayDateTime;
                        }

                        double differenceInDays = timeDifference.TotalDays;
                        if ((differenceInDays > 21) && (differenceInDays < 22))
                        {
                            DateTime addedCardIssueDateMain = actualCardIssueDate.AddDays(21);
                            DynamicAlerter(0, tcardHolderEmail, tcardNumber,
                                addedCardIssueDateMain.ToString(), siteObj);
                        }
                        else if (differenceInDays > 22)
                        {
                            //add 21 days to the date in which the card was issues.
                            DateTime addedCardIssueDate = actualCardIssueDate.AddDays(21);
                            DateTime finalBusinessday;

                            //find out the day of this date.
                            string currentDay = addedCardIssueDate.DayOfWeek.ToString();

                            //write a case if the day belongs to one of the cases, then what happens,
                            //like monday = add 3 days, tuesday add 3 days, wednesday 5 days,
                            string caseSwitch = currentDay;
                            switch (caseSwitch)
                            {
                                case "Monday":
                                    finalBusinessday = addedCardIssueDate.AddDays(3);
                                    Console.WriteLine("Monday");
                                    break;
                                case "Tuesday":
                                    finalBusinessday = addedCardIssueDate.AddDays(3);
                                    Console.WriteLine("Tuesday");
                                    break;
                                case "Wednesday":
                                    finalBusinessday = addedCardIssueDate.AddDays(5);
                                    Console.WriteLine("Wednesday");
                                    break;
                                case "Thursday":
                                    finalBusinessday = addedCardIssueDate.AddDays(5);
                                    Console.WriteLine("Thursday");
                                    break;
                                case "Friday":
                                    finalBusinessday = addedCardIssueDate.AddDays(5);
                                    Console.WriteLine("Friday");
                                    break;
                                case "Saturday":
                                    finalBusinessday = addedCardIssueDate.AddDays(4);
                                    Console.WriteLine("Saturday");
                                    break;
                                default:
                                    finalBusinessday = addedCardIssueDate.AddDays(3);
                                    Console.WriteLine("Sunday");
                                    break;
                            }

                            //get to find out the date after adding the days.
                            //if today is == to the obtained date in the previous step send email

                            var dateoffinalBusinessday = finalBusinessday.ToShortDateString();
                            string dateOftoday = todayDateTime.ToShortDateString();

                            if (dateoffinalBusinessday == dateOftoday)
                            {
                                DynamicAlerter(1, tcardHolderEmail, tcardNumber,
                                    DateTime.Now.ToString(), siteObj);
                            }
                        }
                    }
                }
            }
            catch (Exception ex)
            {
                SPDiagnosticsService.Local.WriteTrace(0, new SPDiagnosticsCategory
                    ("Credit Card Timer job Failure",
                    TraceSeverity.Unexpected, EventSeverity.Error), TraceSeverity.Unexpected,
                    "Failed in finding the difference of days logic: "
                    + ex.Message, ex.StackTrace);
            }

        }

 /// <summary>
        /// This method is for using a Dynamic Replaceable Email Body for the alerts sent & content retrieval method
        /// </summary>
        /// <param name="properties"></param>
        /// <param name="stage"></param>
private static void DynamicAlerter(int stage, string cardHolderEmail,
            string accountNumber, string deadlineDate, SPSite site)
        {
            try
            {
                DateTime today = DateTime.Now;
                DateTime deadline = today.AddDays(21);
                string[] emailProperties = new string[2];
                using (SPWeb web = site.OpenWeb())
                {
                    string formattedValue = string.Empty;
                    SPList list = web.Lists["CardEmailBodyTemplates"];
                    if (stage == 0)
                    {
                        emailProperties = BodyTemplateEmail(list, "URGENT - ACTION REQUIRED");
                        emailProperties[0] = emailProperties[0].Replace("{cardNumber}", accountNumber);
                        emailProperties[1] = emailProperties[1].Replace("{carddeadline}", deadline.ToString());
                    }
                    else
                    {
                        emailProperties = BodyTemplateEmail(list, "URGENT - TRAVEL CARD SUSPENSION");
                        emailProperties[0] = emailProperties[0].Replace("{cardNumber}", accountNumber);
                        emailProperties[1] = emailProperties[1].Replace("{carddeadline}", deadline.ToString());
                    }
                    SPUtility.SendEmail(web, true, false, cardHolderEmail, emailProperties[0], emailProperties[1]);
                    CardAudiListtEmailSave(web, emailProperties[0], emailProperties[1], cardHolderEmail);
                }
            }
            catch (Exception ex)
            {
                SPDiagnosticsService.Local.WriteTrace(0, new SPDiagnosticsCategory("Send Email",
             TraceSeverity.Unexpected, EventSeverity.Error), TraceSeverity.Unexpected,
             "Error in DynamicAlerter Method" +
             "for Card item event receivers: " + ex.Message, ex.StackTrace);

            }
        }
 /// <summary>
        /// Dynamic email Template body builder method
        /// </summary>
        /// <param name="list"></param>
        /// <param name="retrievalquery"></param>
        /// <param name="stage"></param>
        /// <returns></returns>
private static string[] BodyTemplateEmail(SPList list,
         string retrievalquery)
        {

            string[] dynamicEmailValues = new string[2];
            SPQuery query = new SPQuery();
            query.RowLimit = 10;
            query.Query = "<Where><Eq><FieldRef Name='Title' />" +
                "<Value Type='Text'>" + retrievalquery + "</Value></Eq></Where>";

            SPListItemCollection spItemColl = list.GetItems(query);
            if (spItemColl.Count > 0)
            {
                foreach (SPListItem item in spItemColl)
                {
                    dynamicEmailValues[0] = item["EmailSubject"].ToString();
                    dynamicEmailValues[1] = item["EmailMessageBody"].ToString();
                }
            }

            return dynamicEmailValues;

        }

 /// <summary>
        /// This method writes to the Card audit list the details of the every email sent
        /// </summary>
        /// <param name="emlwebObj"></param>
        /// <param name="subject"></param>
        /// <param name="bodyContent"></param>
        /// <param name="recipient"></param>
private static void CardAudiListtEmailSave(SPWeb emlwebObj,
            string subject, string bodyContent,
           string recipient)
        {
            try
            {
                SPList listObj = emlwebObj.Lists["Card Audit"];
                SPListItem itemObj = listObj.Items.Add();
                itemObj["Title"] = subject;
                itemObj["From"] = "CreditCardAlerts@guru.com";
                itemObj["To"] = recipient;
                itemObj["DateSent"] = DateTime.Now;
                itemObj["MessageBody"] = bodyContent;
                itemObj.Update();
            }

            catch (Exception ex)
            {

                SPDiagnosticsService.Local.WriteTrace(0,
                    new SPDiagnosticsCategory("List Timer job Failure",
                    TraceSeverity.Unexpected, EventSeverity.Error),
                    TraceSeverity.Unexpected,
                    "Failed in writing the email details to cardaudit list for past due date payments :"
                    + ex.Message, ex.StackTrace);

            }
        }

    }
}
I hope this scenario has been helpful.
Happy coding!
Guru V


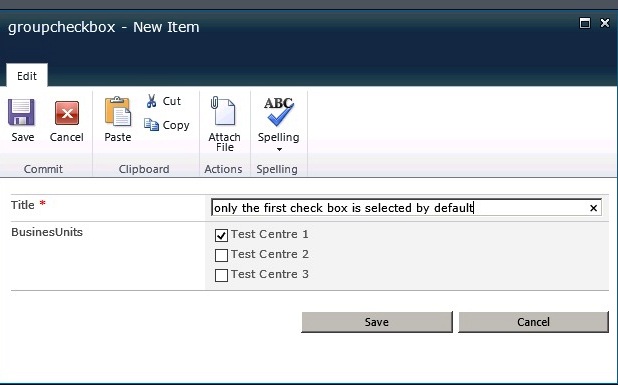

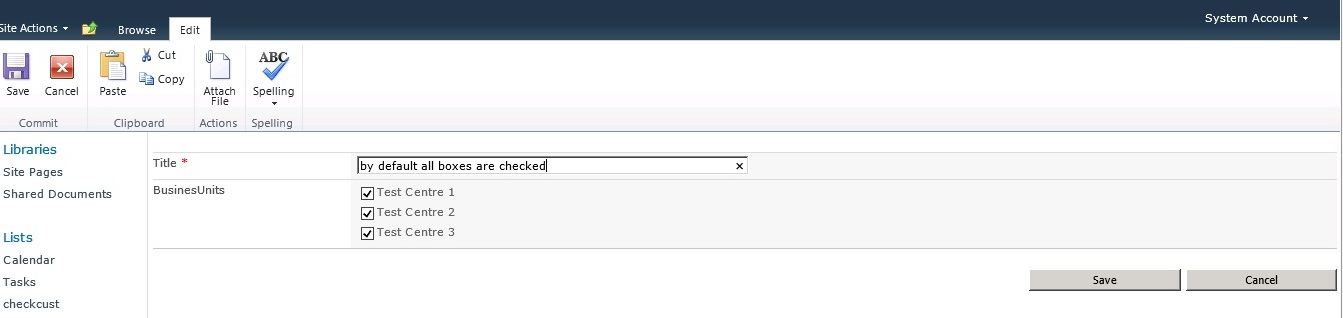
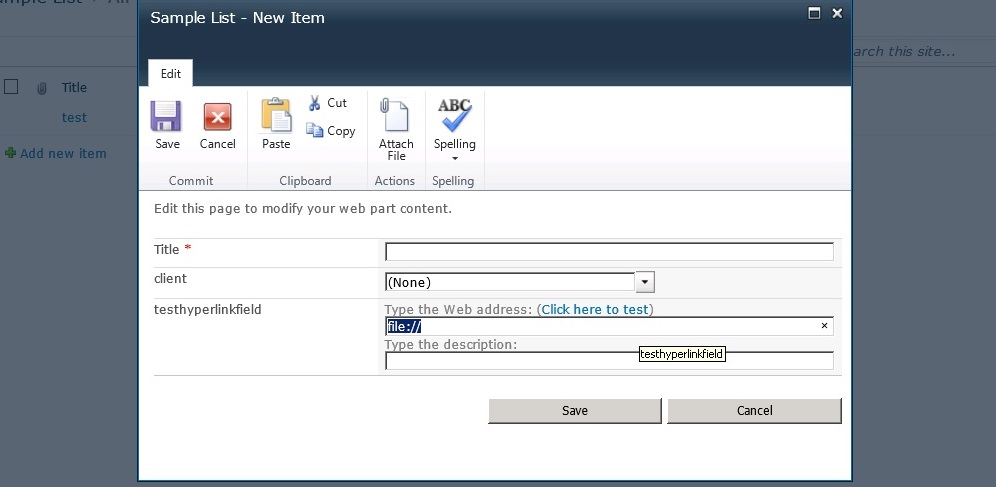
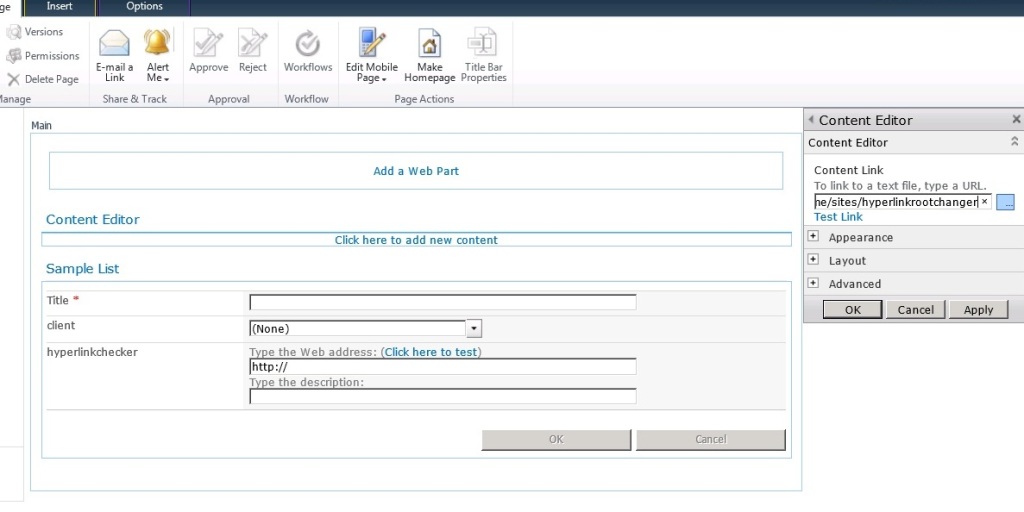 Now open the newform.aspx or try to open a new list item page and you should see the changes like shown below: