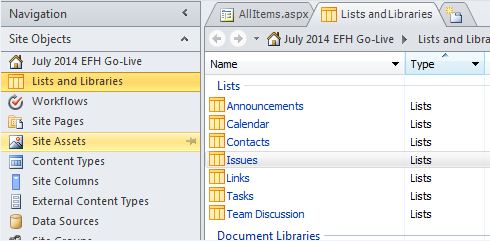
Recently, we needed to redirect users from a site in SharePoint to another site. First, we set the old site to Read-Only. How? Navigate to {Central Administration Site |Application Management | Configure Quotas and Locks} and select one of the options under “Site Lock Information“.
We then copied all of the content, and sent out a message to the users affected about the new site location. For those who did not get the e-mail, we wanted to redirect traffic to the new site along with an explanatory message. We went with “the simple way” below but if you feel like showing off, go with the second option.
1. The Simple Way
This tutorial by Devin Walker fits the bill. It uses the JavaScript Alert box which provides for a message and an OK button. We chose to use a Confirm box instead in order to allow a choice for users to either stay on the Read-Only site or go to the new site.
Here is the code we used:
<script type=”text/javascript”>// <![CDATA[
 var cnf=confirm("XYZ site has been migrated, and this site is now Read-only. \n\nClick Ok to navigate to the new, migrated site or Cancel to remain on this Read-only site.");
 if(cnf)
 {
 location.href="http://sharepointserver/sites/XYZ/";
 }
 // ]]></script>
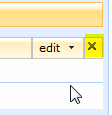
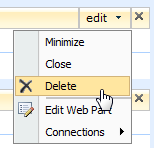
To Implement
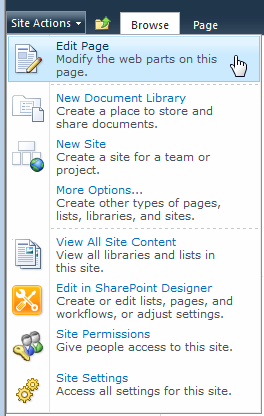
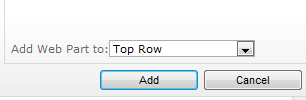
Use a Content Editor Web Part (CEWP) and paste in the above code, modified with your message and your new site url in the location.href statement. That’s it.
2. A Better Way
The above provides a simple, old school (some would say “archaic”) redirect script and message. If you’re like me, sometimes you like to be fancy and modern. In this case, implement this nifty script instead to alert users and redirect them to the appropriate sites.
To Implement
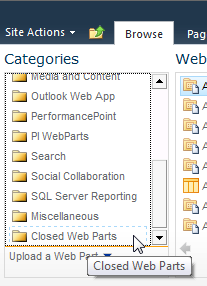
Download the zip file from the website, unzip the files, and upload them to your Site Assets document library (or a folder there created for this purpose).
Then, install a Content Editor Web Part (CEWP) on the target page and proceed as above, edited for your environment and the path to your Site Assets document library.